Propagation by Cuttings: Common Mistakes and Simple Fixes for Kitchen Herbs
Problem
Rooting kitchen herbs from cuttings is satisfying, but it often fails for reasons that are easy to overlook. New gardeners and seasoned cooks alike can see stems wilt, rot or simply refuse to put out roots. The frustration usually comes from a handful of approachable mistakes: wrong cutting choice, improper moisture balance, unsuitable light, or an overly complex routine. Understanding the common problems helps you simplify the process and get more consistent results.
Principles
Before trying another attempt, keep these guiding principles in mind. They explain why certain steps matter and make it easier to correct errors:
- Clean cuts and clean tools: A fresh, sharp snip reduces tissue damage and lowers infection risk. Sterilize scissors briefly between different plants to avoid spreading pathogens.
- Choose the right wood type: Herbs fall into softwood (young, green growth) and woody (older, firmer stems). Softwood cuttings root faster in water or damp mix; woody cuttings need more time, lower moisture and often benefit from bottom heat.
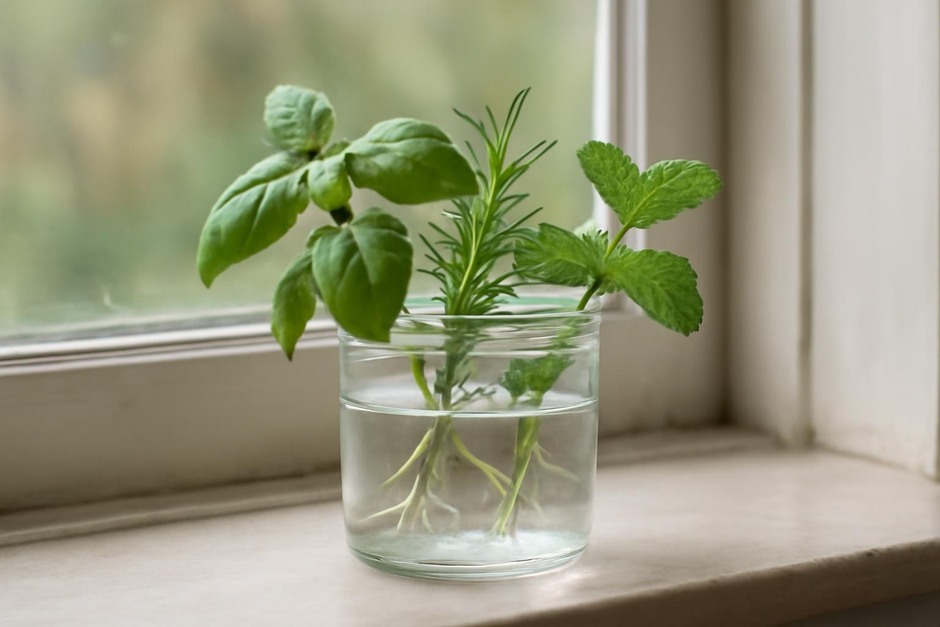
- Balance moisture, don’t saturate: Roots need oxygen. A medium that stays moist but not waterlogged (perlite, coarse sand, or a light potting mix) reduces rot risk. When using water, change it frequently and use clear containers so you can monitor root health.
- Provide gentle light and mild warmth: Bright, indirect light and a stable, temperate spot encourage root development. Direct midday sun can stress cuttings and cause wilting.
- Patience and minimal disturbance: Roots develop slowly. Avoid tugging to check for roots; frequent handling disrupts fragile new growth.
Examples
Here are three common kitchen herbs, what typically goes wrong with each, and specific corrections you can apply.
Basil (softwood)
- Common mistake: Taking stems that are too old or cutting below a flowering node. Older stems root poorly and flowering redirects energy away from roots.
- Correction: Snip a 4–6 inch tip from fresh growth, remove lower leaves to expose nodes, and place in water or a moist, airy mix. Keep in bright, indirect light and change water every few days if propagating that way.
Rosemary (woody)
- Common mistake: Treating rosemary like basil—overwatering or using pure water propagation. Woody stems resist root initiation in saturated conditions.
- Correction: Take semi-hardwood cuttings (current season growth that is beginning to firm), wound the base slightly to expose cambium, dust with a little rooting hormone if you like, and insert into a gritty, well-draining mix. Keep humidity moderate and provide consistent warmth.
Mint (vigorous)
- Common mistake: Crowding and poor sanitation. Mint roots extremely easily, but crowded cuttings in stagnant water or compacted soil invite rot and mold.
- Correction: Use individual small containers or separate stems in a shallow tray with fresh, airy medium. Ensure airflow and change water often if using hydro propagation.
Practice Checklist
Use this concise checklist at the workbench to reduce common errors and increase your chances of success.
- Sanitize scissors; take a 4–6 inch cutting from healthy growth (softwood for basil/mint, semi-hard for rosemary).
- Remove lower leaves so at least one or two nodes are bare; avoid flowering tips.
- Decide on method: water for quick checks and soft stems; gritty mix for woody stems and longer-term success.
- If using soil, choose a free-draining blend (perlite, coarse sand or gritty compost) and plant one cutting per small pot.
- Provide bright, indirect light and stable temperatures (avoid drafts and hot sun).
- Keep medium moist but not waterlogged; if in water, change it every 3–5 days and rinse container.
- Limit checking: wait 2–4 weeks before a gentle tug; transplant only when a healthy root system forms.
- Label cuttings with date and variety to track what works best in your conditions.
These straightforward adjustments—clean tools, appropriate stem selection, balanced moisture and patience—turn most failed attempts into steady success. Treat each plant according to its wood type and growing habits, and your kitchen herb propagation will become a reliable part of seasonal cooking and home gardening.